软件准备
-
本文以调试SFLB52_NOR为例
-
Ozone:调试用软件
-
JLINK:连接工具
-
SifliUsartServer:没有SWD口可用此工具连接Jlink
- 一般在SDK工具文件夹下会有该工具
SiFli-SDK\main\tools - 下载:软硬件工具汇总 - SiFli-Wiki v1.0 文档
- 软件说明:UsartServer - SiFli Solution Documents 文档
- 一般在SDK工具文件夹下会有该工具

下载好后双击安装即可
一、软件配置
软件安装完成后还需要完成一些配置
1.Ozone配置
1.1 JLinkDevices.xml文件
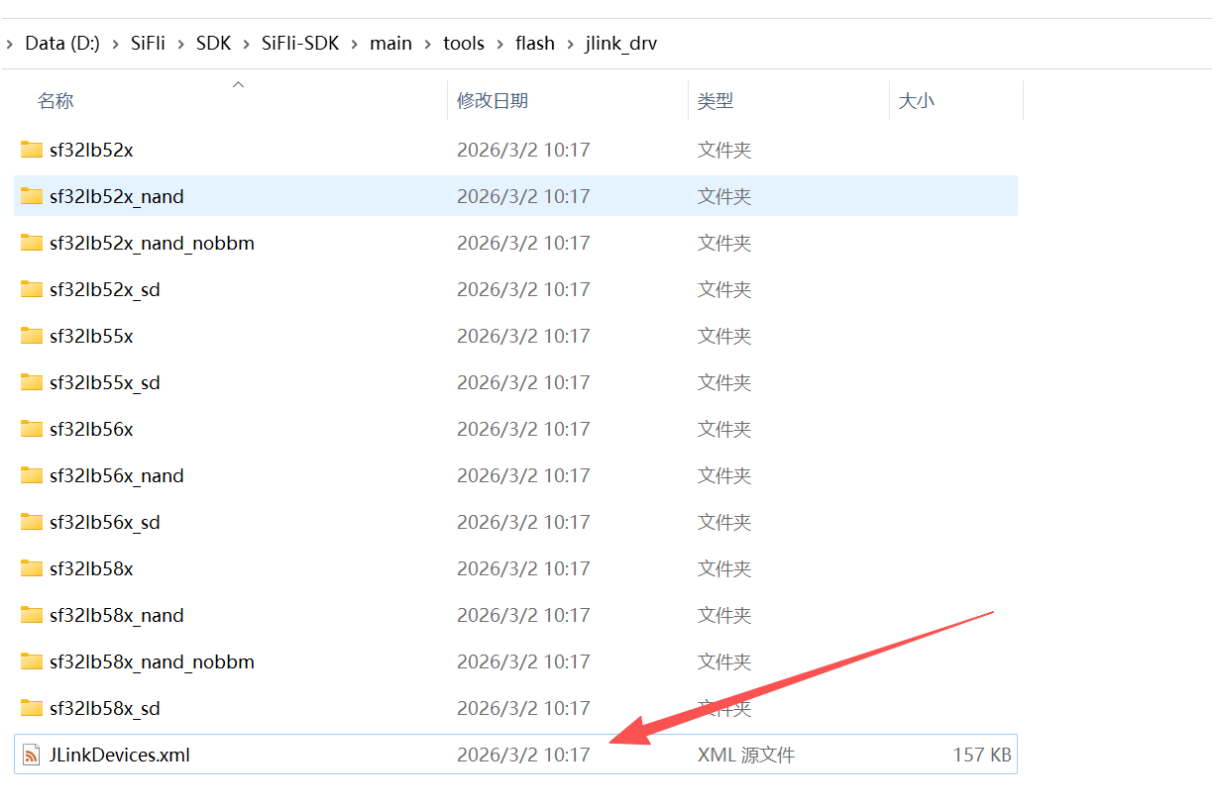
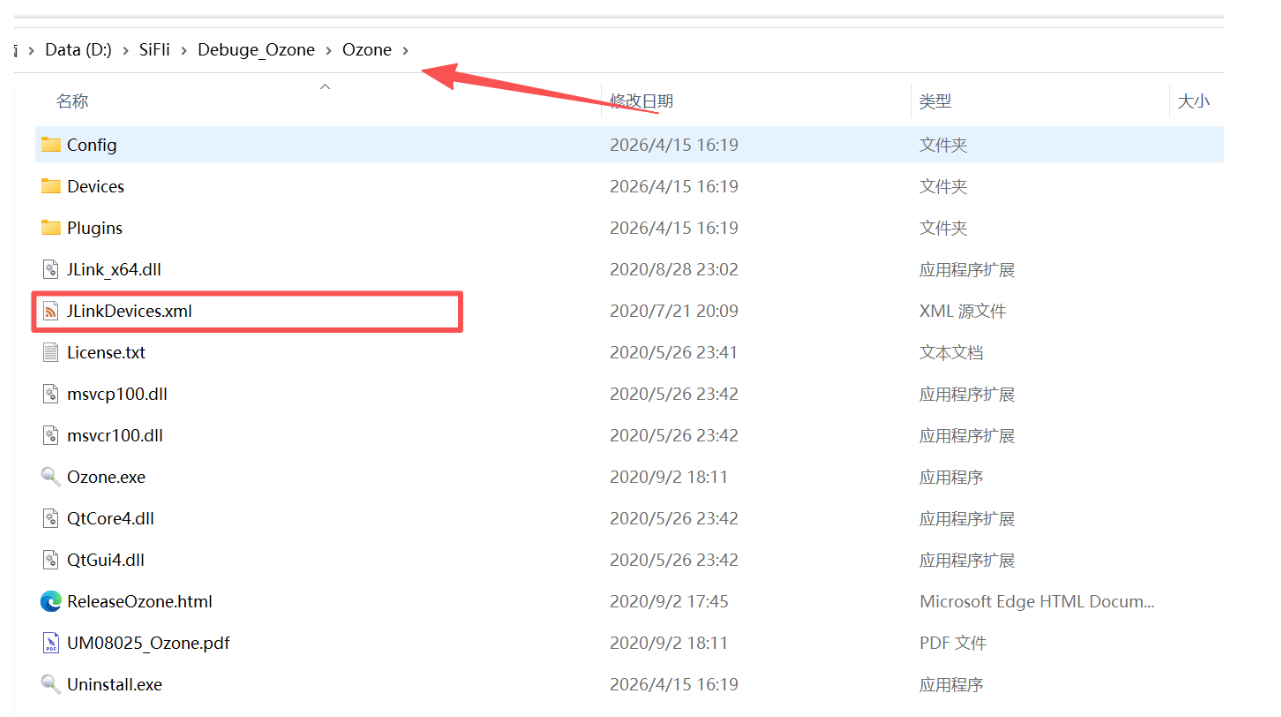
需要将
SiFli-SDK\main\tools\flash\jlink_drv下的JLinkDevices.xml文件替换 Ozone 下该文件,如下图:
1.2 SiFli目录
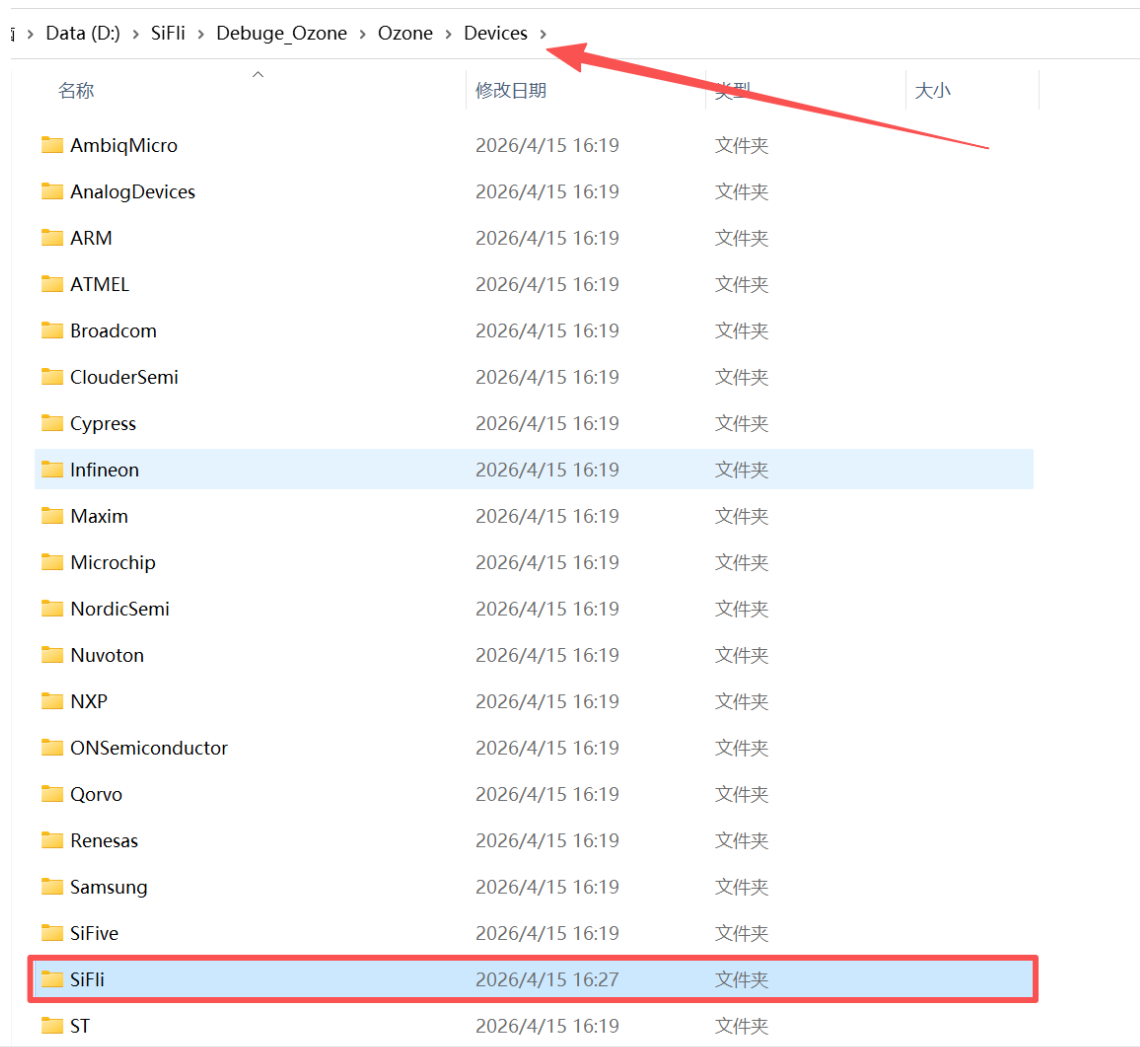
- 在Ozone的Device目录下创建SiFli文件夹
- 将
SiFli-SDK\main\tools\flash\jlink_drv目录下的文件中的SF32LB52X_*.elf文件复制到 SiFli目录下

1.3 Peripherals 目录
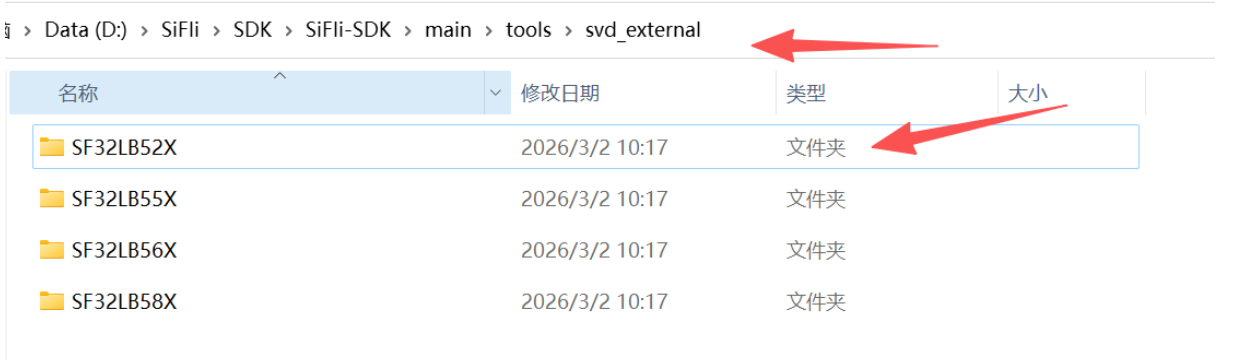
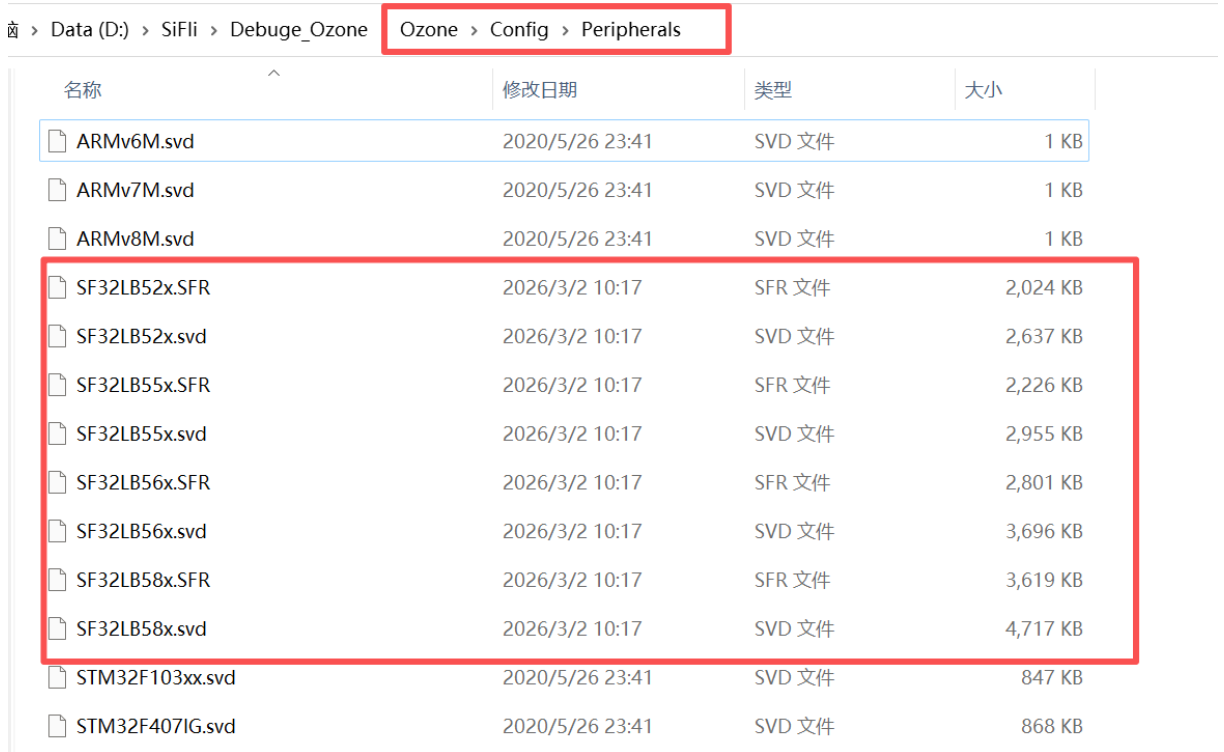
- 将
SiFli-SDK\main\tools\svd_external目录下的 文件内容复制到Ozone/Config/Peripherals下

1.4 RtThreadOSPlugin.js 文件
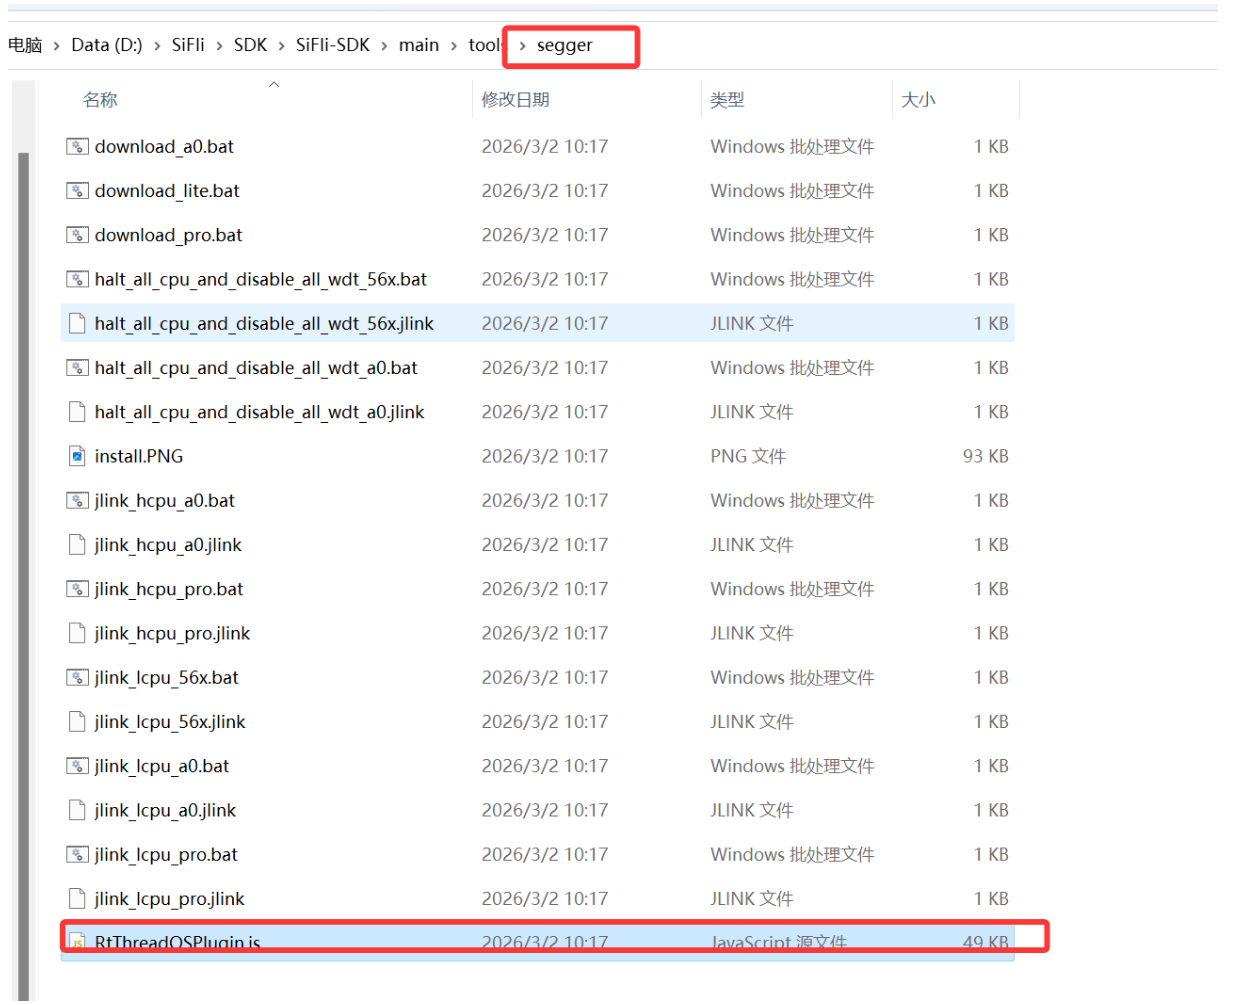
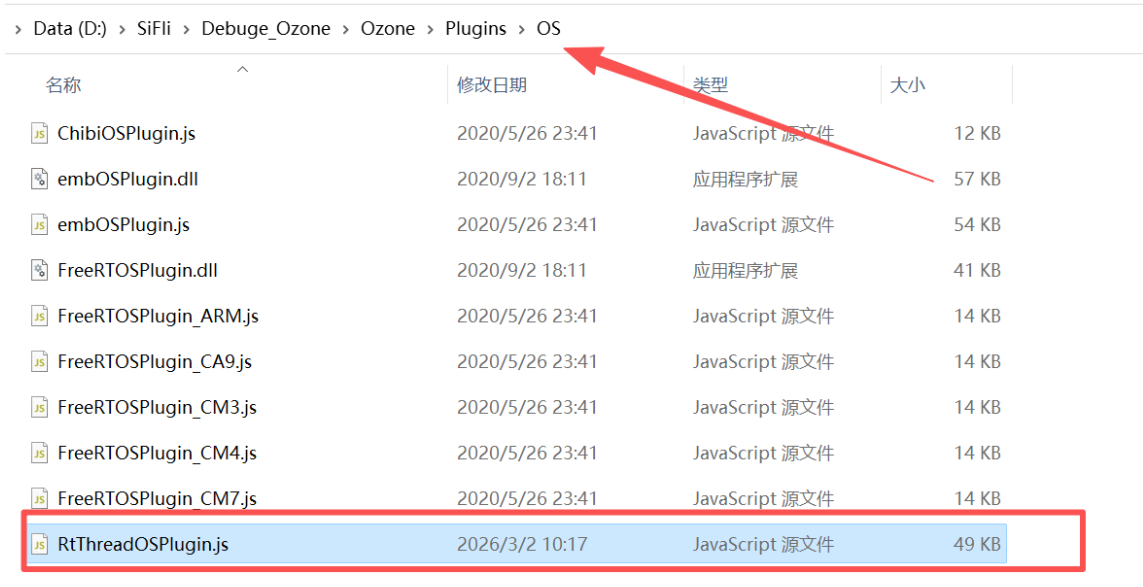
- 将
SiFli-SDK\main\tools\segger下的RtThreadOSPlugin.js文件复制到Ozone\Plugins\OS下
2.JLINK配置
2.1 SiFli目录
- 在
Jlink\Devices目录下创建 SiFli 目录- 将
SiFli-SDK\main\tools\flash\jlink_drv目录下需要的文件复制到此目录下
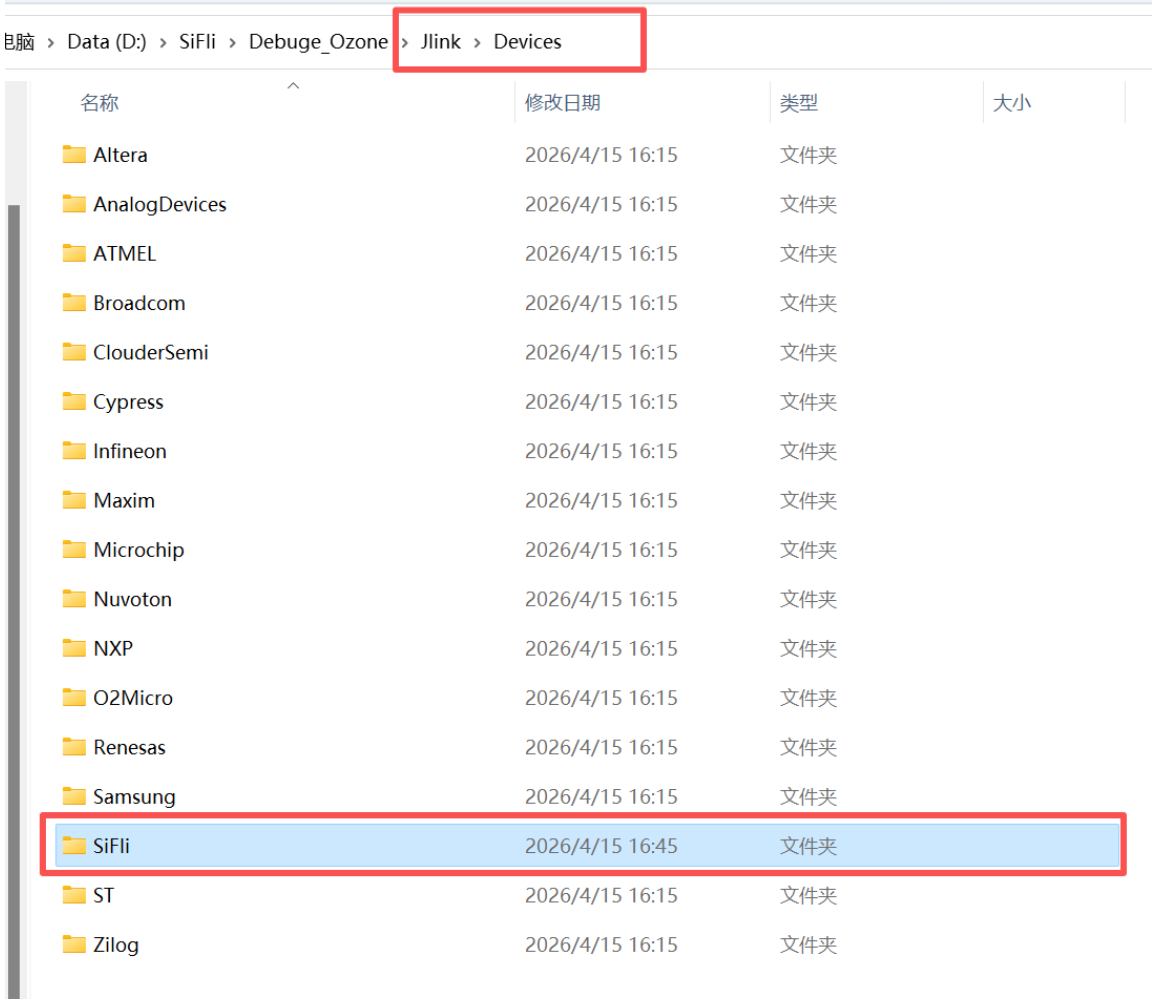
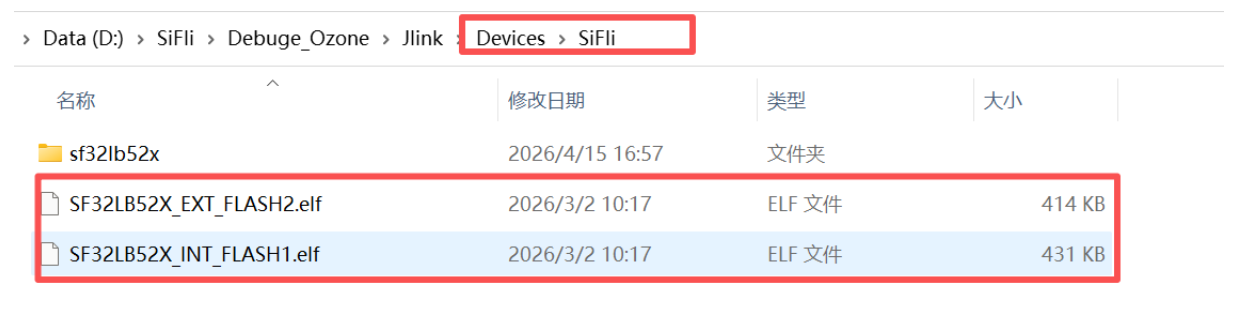
2.2 JLinkDevices.xml文件
- 将
SiFli-SDK\main\tools\flash\jlink_drv替换jlink下的同名文件
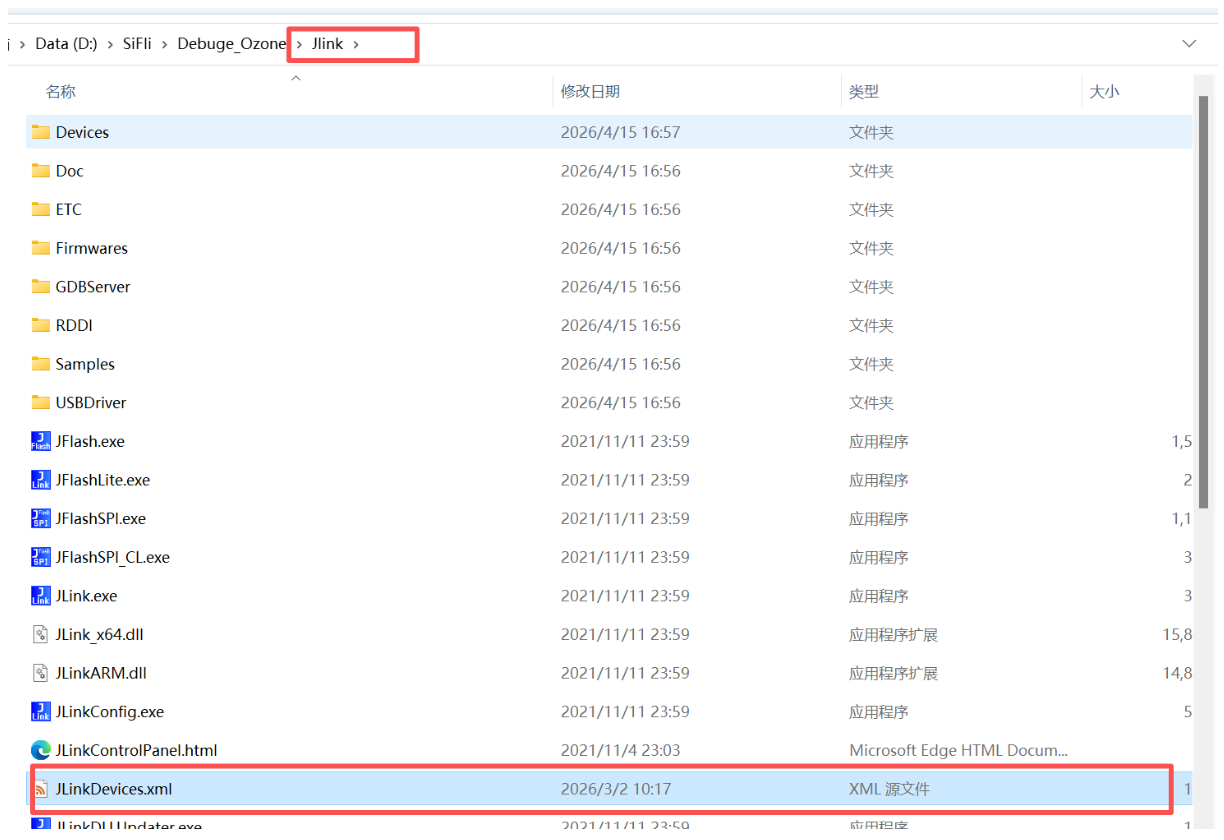
二、开始连接
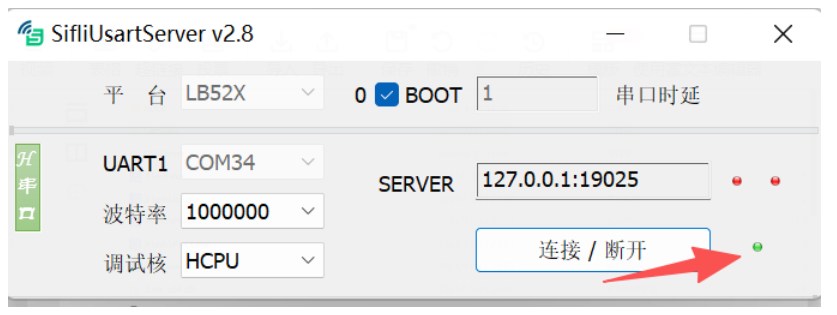
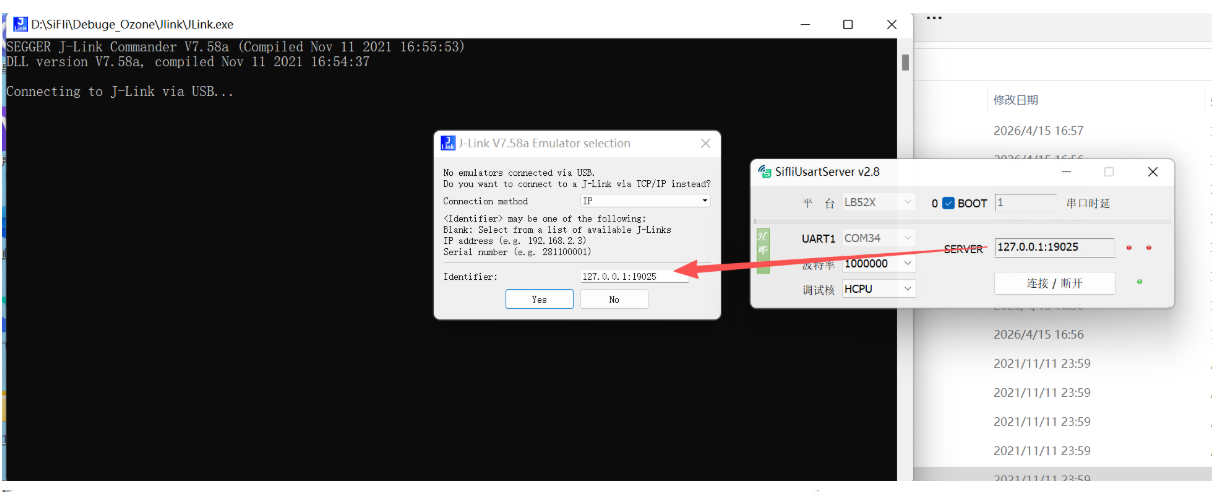
1.连接UsartServer
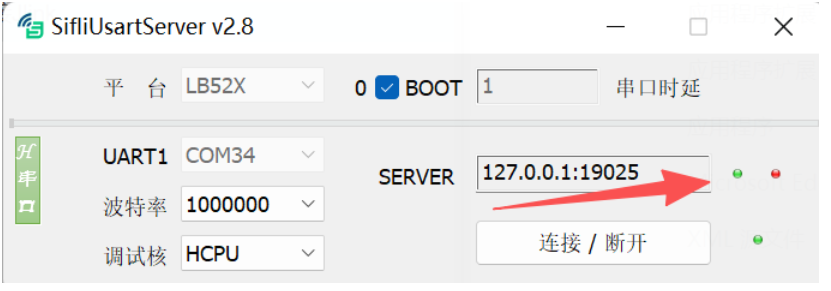
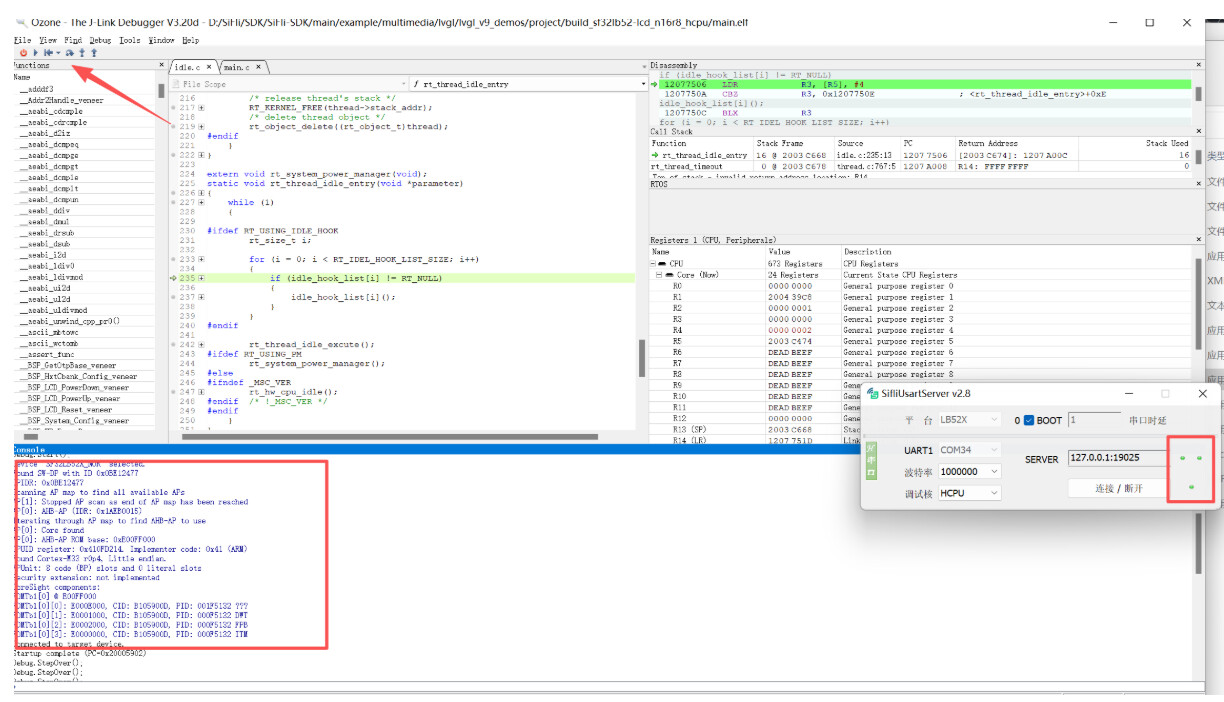
选择对应串口点击连接,右边小灯变绿为连接成功
2.连接Jlink
- 打开Jlink.exe ,connect method 选择IP,并将 SERVER填入 Identifier。
- 成功后会亮左边的小灯
3.连接开发板
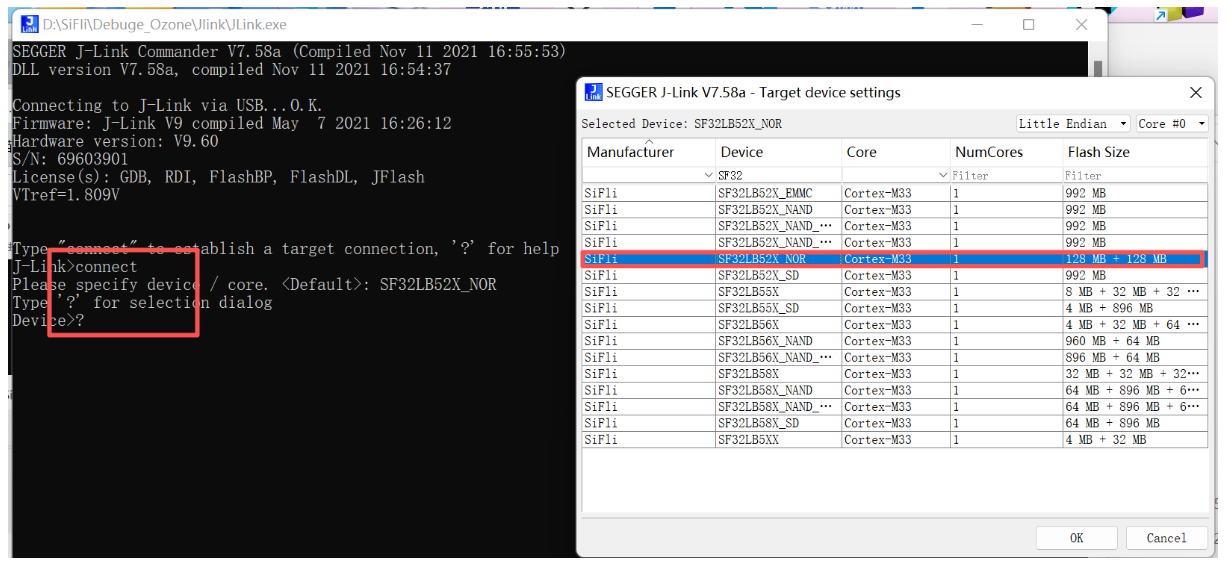
- Jllink下输入 connect 指令,然后输入?选择开发板
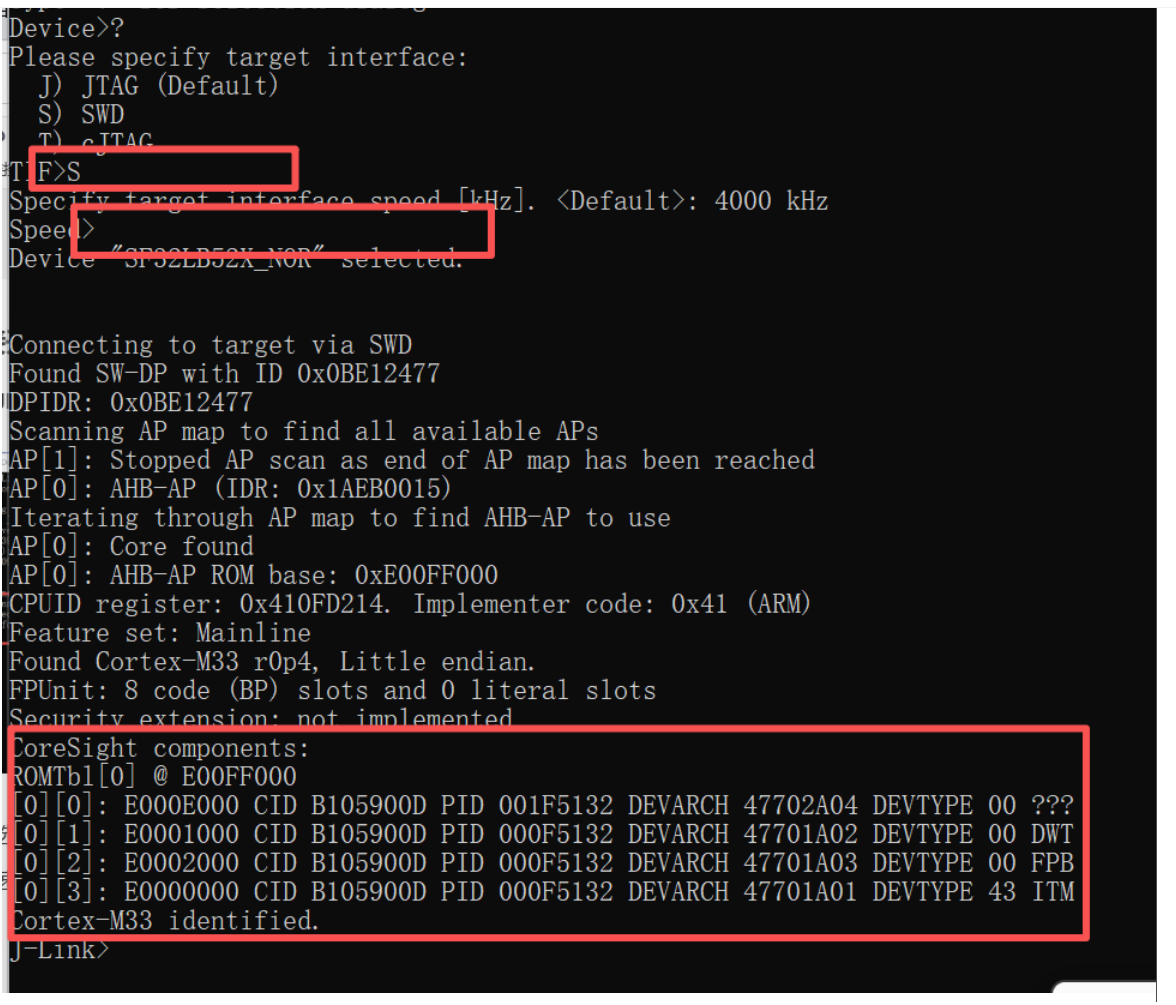
- 选择SWD
- 速率选择默认
- 连接成功后如下显示
4.连接Ozone
- 打开Ozone.exe
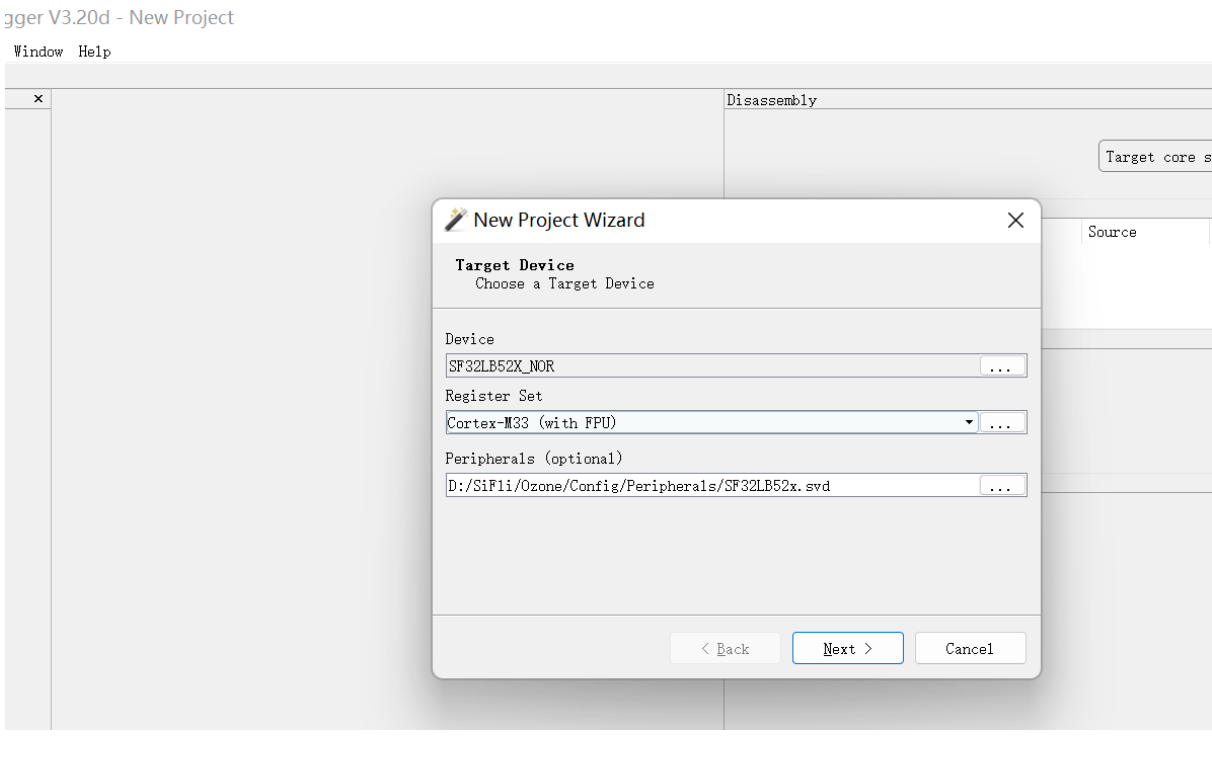
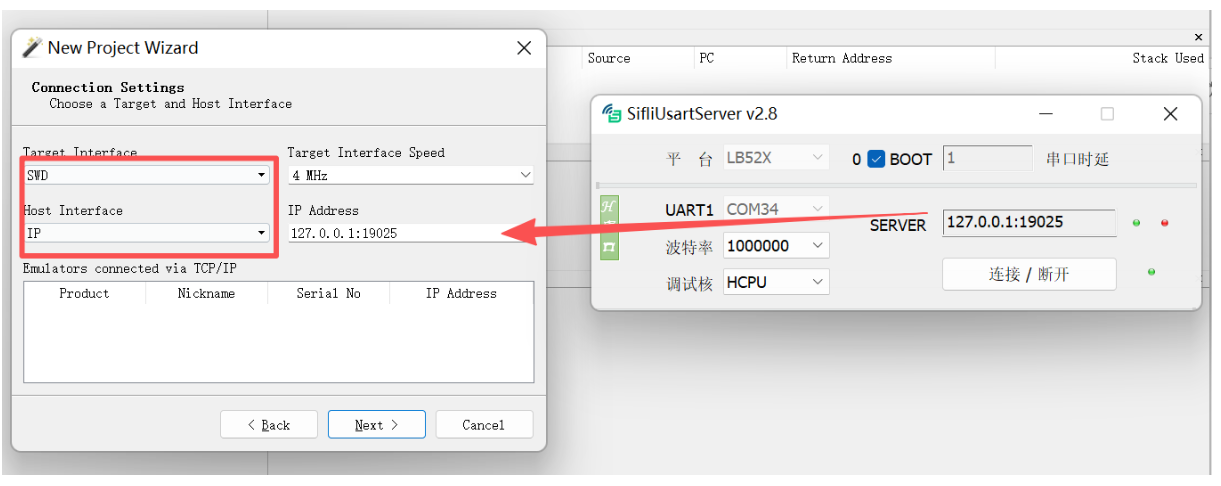
- 选择SWD和IP,并填入SERVER
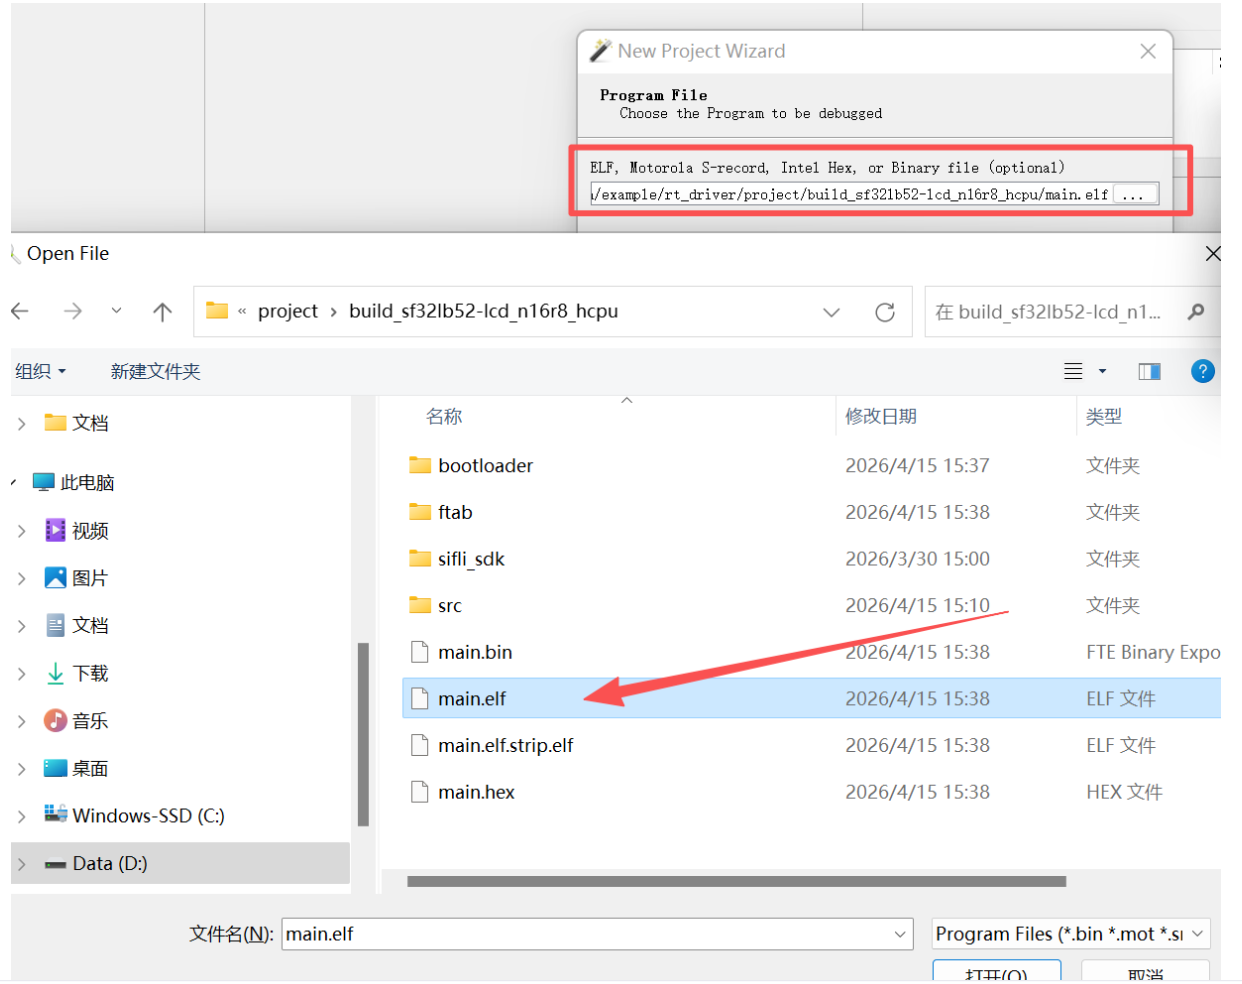
- 选择开发板中下载的工程文件下的.elf或者.axf文件
- 点击开始
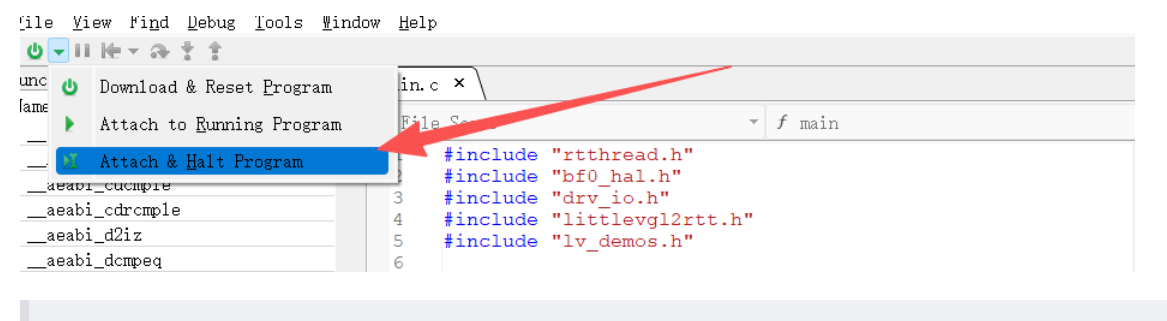
- 出现如下显示就说明可用开始调试了
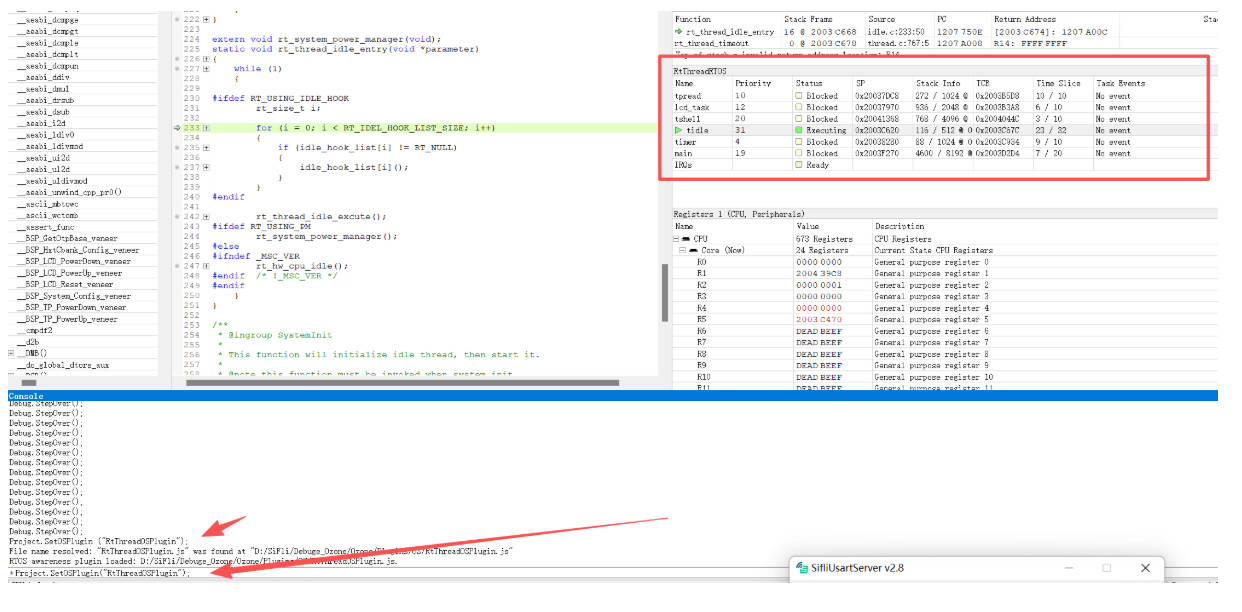
5.线程查看
- 输入
Project.SetOSPlugin("RtThreadOSPlugin");可打开线程窗口